• Welcome to RedcatRampageForum! Are you a Redcat fan? If so you're in luck as you've have arrived to the biggest and best RedcatRampage RC community.

    Come join our community and ask your questions, show off your Recat RCs and share your experience!

Yet another DuneRunner :)

phreerider

Senior Member
Messages
1,111
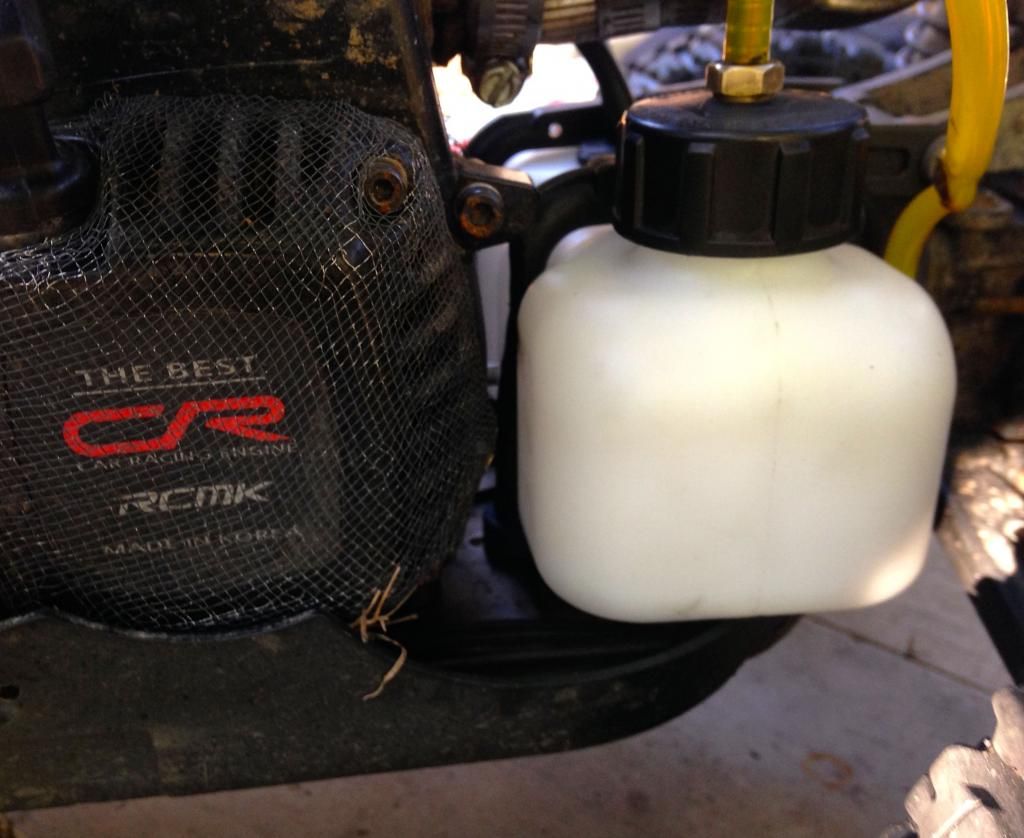
heres a shot of mine , basic brass hardware nipple and hose (that you already have ) and on the other end a fuel filter its the screen type

leave the rubber dome and seal inside the cap for splash cover just be sure its open.

you can use solvent tolerant sealer around the nipple but i did not .

drill slightly smaller hole than nipple choice. has to be self tapping tight fit into plastic, don't over tighten. the tubing and filter should be secured to form a loop down toward bottom of tank somewhere, it will spit out a little fuel from time to time. leave enough slack to allow for cap placement and removal, the twist thing you can figure out . when in place ,the tubing should not pinch itself closed after tighten cap...and looks like


Ice_2k

Senior Member
Messages
1,387
Thanks! I'll give the snappy rc kit another chance by moving the vent valve further away from the tank and if it doesn't work I'll revert to stock and add the cap valve.
 

phreerider

Senior Member
Messages
1,111
you can also add filter to the top of the cap, kinda your call on that, just when the unit turns over it will dump fuel, a downloop will control that
 

Ice_2k

Senior Member
Messages
1,387
In the end I decided to drop the snappy kit as priming the carb with a full tank was always sending fuel through the valve vent (I even tried it with a 15" tube for the valve, and fuel was just going up the entire tube to the valve and almost no fuel was going through the fuel filter to the carb :confused: 
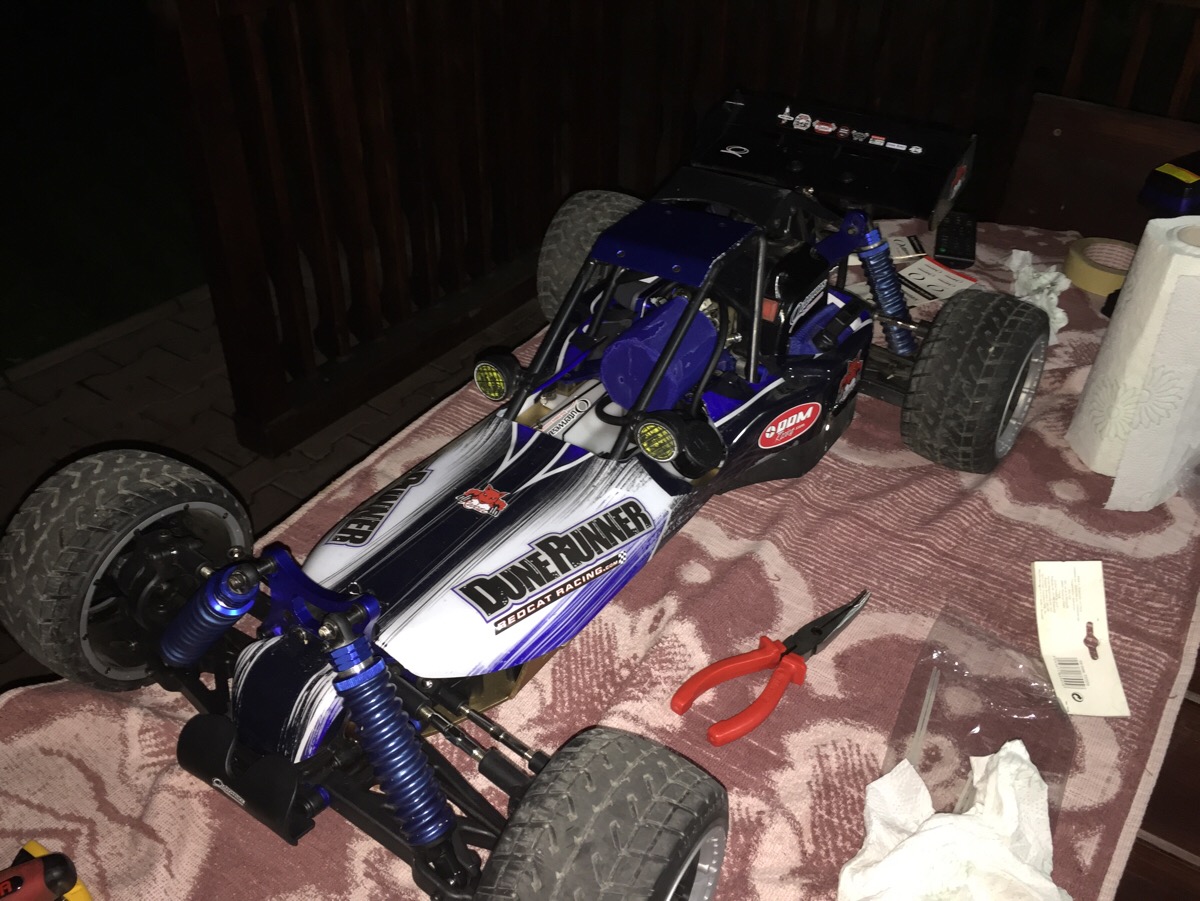
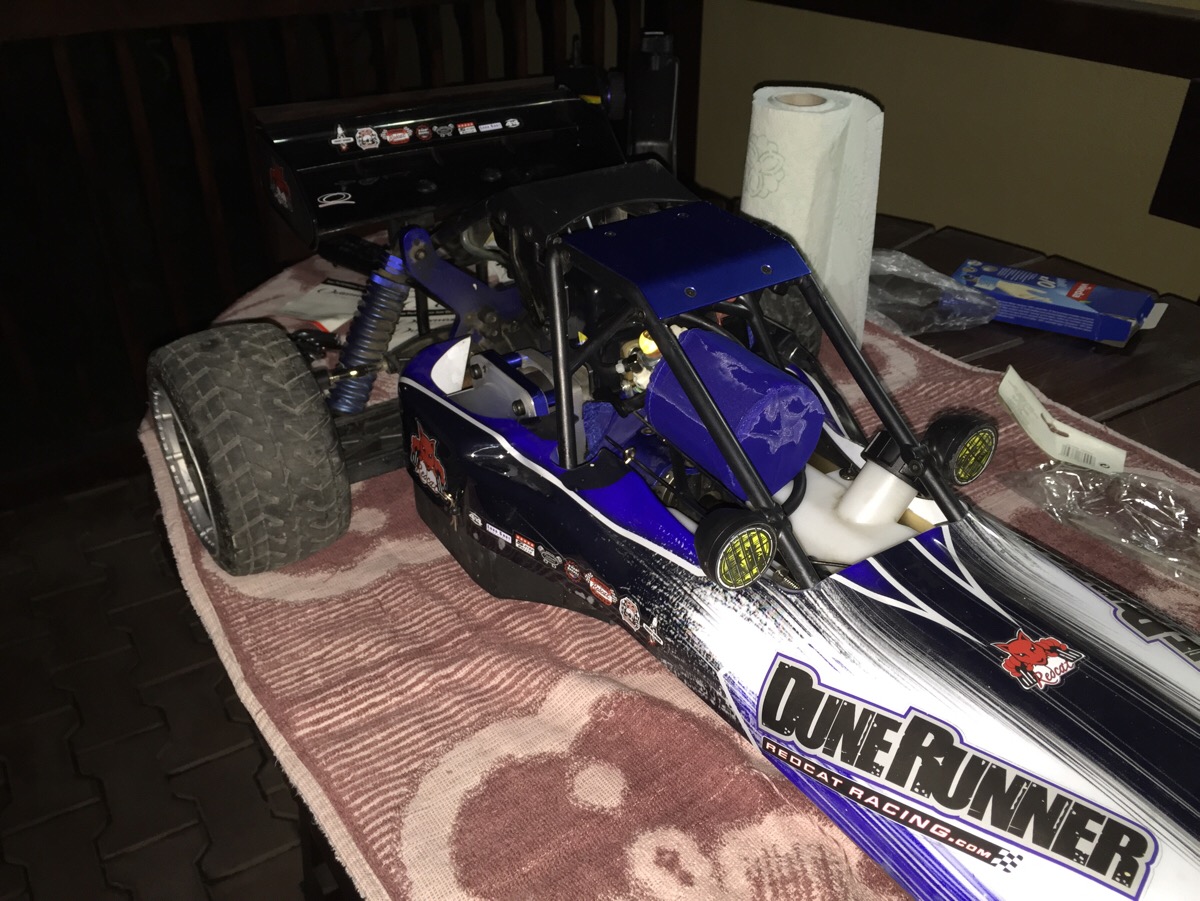
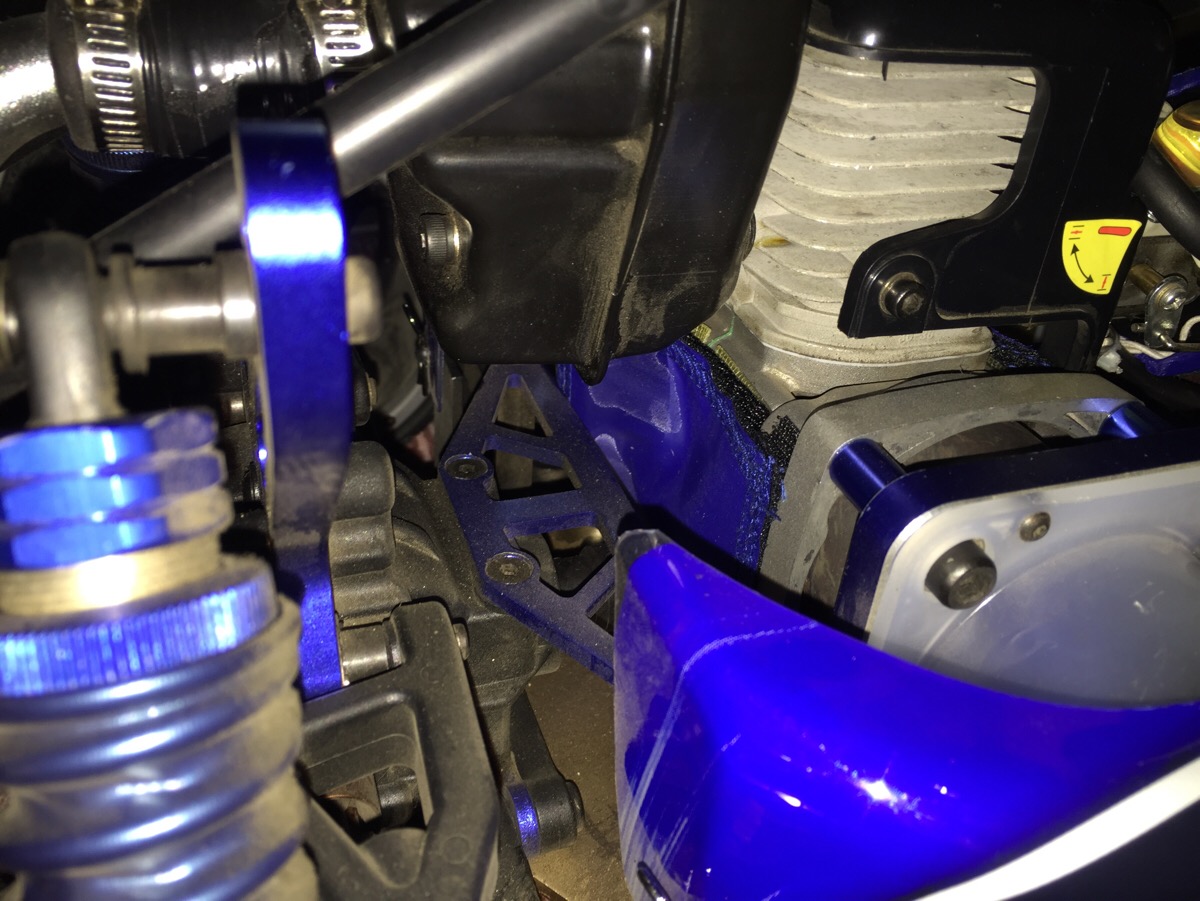
), which is something I'm not ok having. For the moment I just reverted to stock and, if/when venting problems appear I'll probably add the snappy valve directly to the tank cap.


Last edited by a moderator:

phreerider

Senior Member
Messages
1,111
in the snappy kit , if the vent pipe into the grommet is too long it will push fuel thru it, so the vent pipe should be just pass the grommet.

a cap vent is the choice despite its lack luster approach, putting the snappy vent on the cap is an option, the only issue is the first grain of sand into the pricey vent and its now just an expensive hole.
 

Ice_2k

Senior Member
Messages
1,387
I know that, it was barely clearing the grommet and still, with a full tank, pushing the primer bulb was sending fuel up the vent tube. Not a single drop was going through the correct tube :) ) Tilting the car so the fuel was getting further from the grommet would cause it to function correctly. I don't know, I just can't live with "you can't fill the tank anymore", I rather just do a little DIY and get it done properly. Makes me wonder why they didn't just make this kit consist of a new cap with a vent in it, would have been so much better and so much easier to install.
 
Last edited by a moderator:

Ice_2k

Senior Member
Messages
1,387
no, that was an idea for the summer when I'll get to the seaside... no sand in my area so no point in doing it yet :)
 

phreerider

Senior Member
Messages
1,111
i had an recent order with stuff i'm returning may get a set of paddles in exchange, we'll see ..proline trenchers rears (even clones as well)are getting hard to find .
 

phreerider

Senior Member
Messages
1,111
all rears and maybe cut/trim down outer 1/3 on front paddles. i will just have to see on the steer thing, on loose sand should fine but the in between stuff and hard clay and wet dirt/clay might be trouble...where i run has considerable wet dirt/clay/sand, the banked turns are all soft, the tabletops are hard dirt/clay pack so.

if i stay in the choice terrain like a sand pit should fun , maybe adding some camber to load the inside of the front paddles may work. definitely let u know what breaks and get some vid hopefully before any breakage as well.
 

Ice_2k

Senior Member
Messages
1,387
Waited for 3 weeks for the suspension arm I broke, but finally back in business :)


Ice_2k

Senior Member
Messages
1,387
yup :) Can't wait to bolt it on, together with the 8k clutch :D
 

Ice_2k

Senior Member
Messages
1,387
Yet another DuneRunner :)

Installed voltwatch (which doubles as a status LED to avoid forgetting it on), added 5000mAh battery pack from DDM and added the possibility to charge the battery without opening the battery box. Also sealed voltwatch and battery box holes.


Ice_2k

Senior Member
Messages
1,387
On the downside, I managed to slightly bend the dogbone going from the front diff to the mount in the center of the chassis (where the "drive shaft" changes angle) so that now it very smoothly touches the housing of the steering servo and you can just see a small wobble. Do you guys think I could break something else by running it like that until the replacement arrives? (which will be in about 5-6 weeks) Or should I just convert it to 2wd for the time being?
 

Create an account or login to comment

You must be a member in order to leave a comment

Create account

Create an account on our community. It's easy!

Log in

Already have an account? Log in here.

Members online

No members online now.
Top