Sprint 77
Contributor
- Messages
- 1,056
- Location
- Gladewater Texas USA
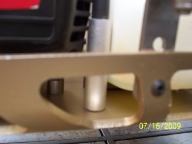
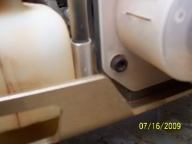
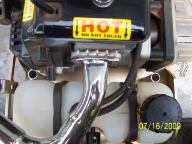
Here are some pics of my new holder for the dial indicator to set piston squish , check port timing, and correct port timing from extra cyl shims.
Welcome to RedcatRampageForum! Are you a Redcat fan? If so you're in luck as you've have arrived to the biggest and best RedcatRampage RC community.
Come join our community and ask your questions, show off your Recat RCs and share your experience!
I machined the adapter to hold the dial indicator that screws in the head. At this time it is not something going to market. I built it for porting motors to test with my pipes. I have seen some guys drill out a old spark plug on a lathe and hold the dial indicator with a rubber hose and two hose clamps. It works just not as clean as my setup. Maybe after I get my manual mill set up for CNC I will make some for sale, that project is far down my list right now though.catchaser said:That is something I would love to have. Can that be bought or is that something you fabbed up?
Yes they are this way you don't have to pull the roof or cage just to change the plug.Piranha2 said:The cage and braces are "higher" up?
Heres something I carried over from my Baja 5b days, Quick release roll cage tubes.. I havent noticed if anyone else has done this yet. I used some leftover 1/2 O.D. Aluminum TubingSprint 77 said:Yes they are this way you don't have to pull the roof or cage just to change the plug.


Register and gain access to Discussions, Reviews, Tech Tips, How to Articles, and much more - on the largest Redcat Rampage RC community for Redcat RC enthusiasts that covers all aspects of the Redcat brand!
Register Today It's free! This box will disappear once registered!